The Email Verification API
Whenever you collect an email address it is best practice to verify that the person who provided it actually owns it. It's all part of getting email consent to send emails.
The Email Verification API is a new proposal to make it easier by performing email verification directly within the browser.
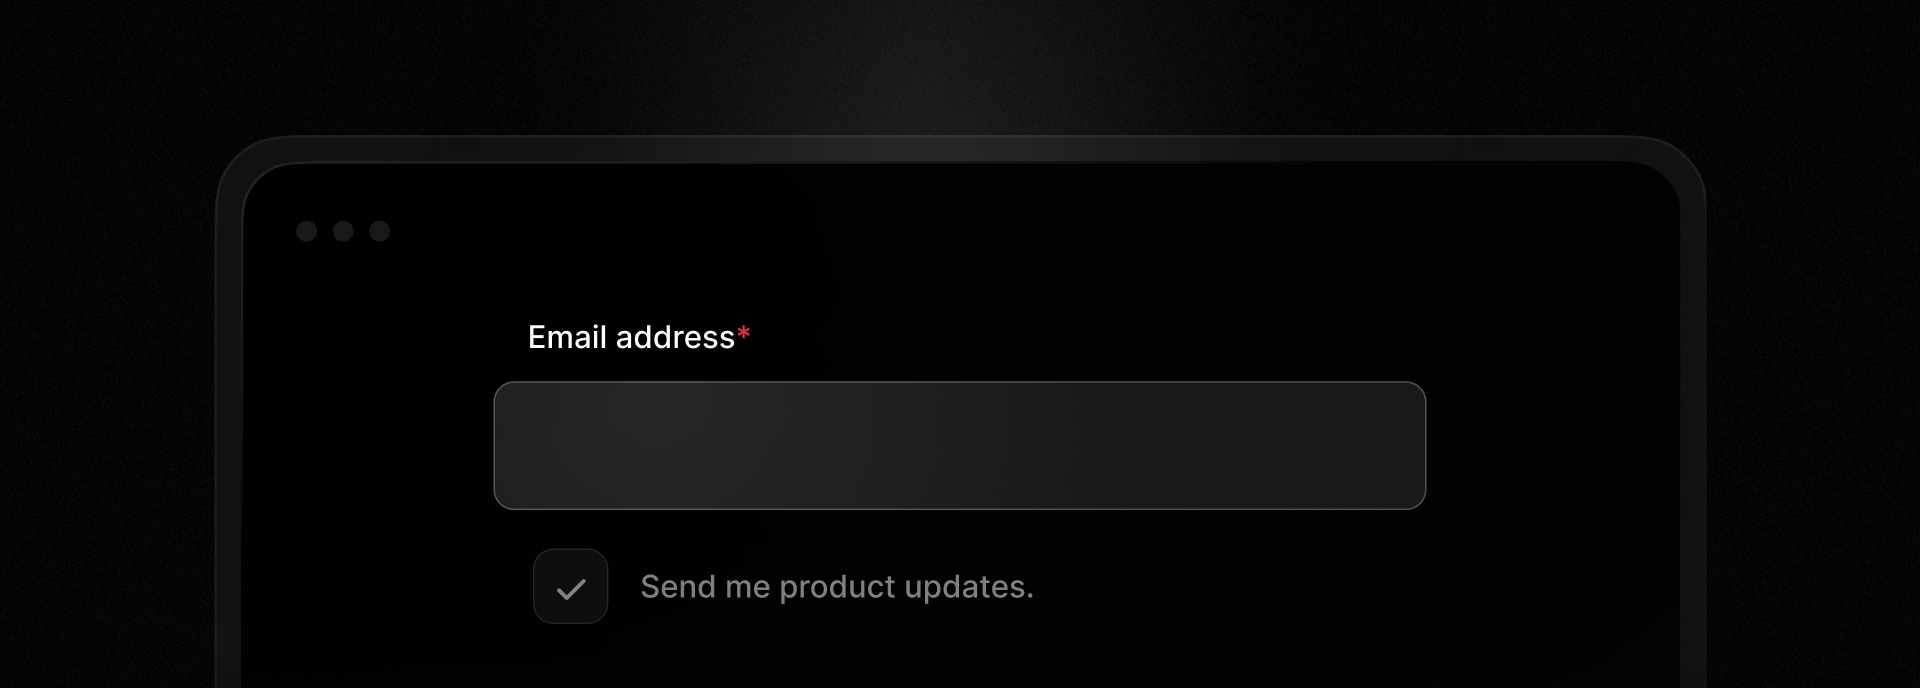
Improving email verification
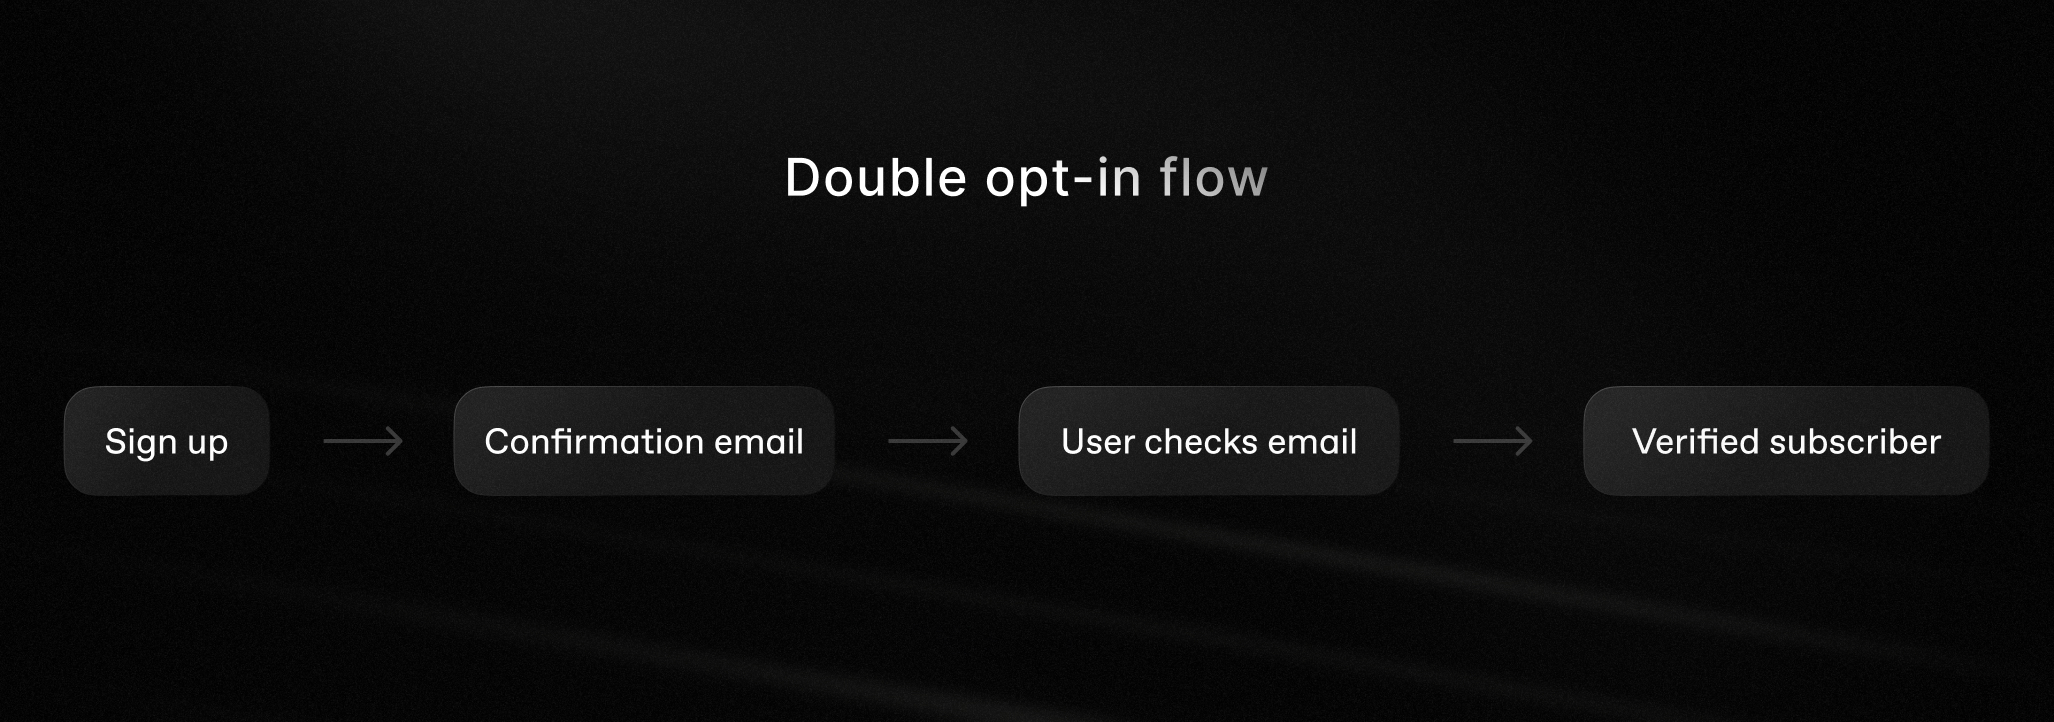
When a user enters an email address in a form online, it's common practice to verify their email by sending a one-time password (OTP) or magic link. The user leaves the webpage, opens their inbox, and copies a code or clicks a link.
This adds friction, breaks the user's flow and risks losing their attention.
When a user's email address can be verified by the browser and your application, they never have to leave, making registration or subscription a much smoother journey.
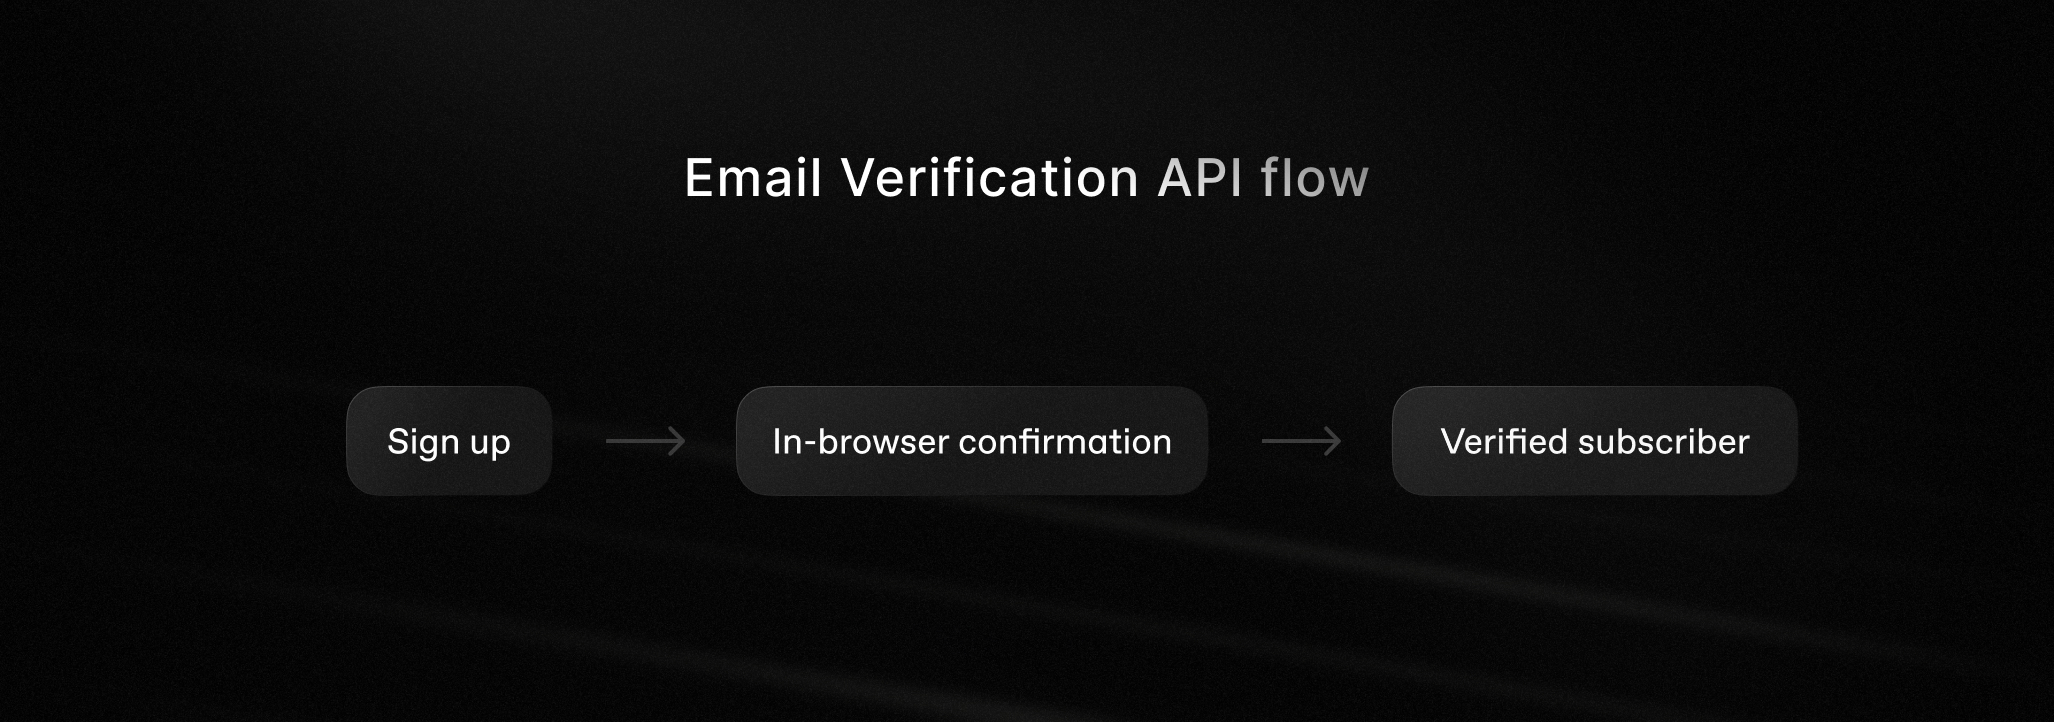
The proposed flow offers more than a better user experience. If the email address is verified, you can be more confident that it belongs to the user in question and reduce bounces caused by invalid or mistyped addresses. Both of these features help protect your sender reputation.
At the time of writing, this API is in the proposal stage. The browser API is only supported by Chrome via an origin trial and mailbox verification is only supported by Gmail. It's worth experimenting with it now as a progressive enhancement.
There are other email verification APIs that verify syntax, MX records, and SMTP servers for an email address before you try sending to it. You might consider using one of those to verify an email address where this API isn't available.
How does the Email Verification API work?
The API has a few different parties involved: the user, the browser, the mailbox provider (known as the issuer), and your server (the verifier). Here's a quick and simple version of how it all works together:
- The user logs into their mailbox provider and the mailbox registers that with the browser.
- Later, the user enters their email address into a form on your site.
- The browser checks to see if that email address is associated with the logged-in user.
- If they are, the browser and the mailbox provider create a token together and add it to a hidden input in the form.
- When the user submits the form the server receives the email address and the token.
- Verifying the token validates that the email address belongs to that user.
If you want to know exactly how the tokens are created and verified, I recommend reading through this introduction to the Email Verification Protocol.
To the user, the experience looks like this.
Let's look at how to implement the API so you can start verifying email addresses yourself.
The front-end
We'll start with the HTML form. The email <input> needs to be of type "email" with the autocomplete attribute set to "email" as well.
<label for="email">Email:</label><input id="email" name="email" type="email" autocomplete="email">
You also need to provide a hidden input with the autocomplete attribute of "email-verification-token" that has a random nonce.
A nonce is an arbitrary value that is used only once during a cryptographic communication to ensure each session is unique.
To create a nonce, generate a random string. In Node.js, for example, you can use the randomUUID function from the node:crypto standard library.
import { randomUUID } from "node:crypto";const nonce = randomUUID();
Bind this nonce to the user session so that you can use it later to help verify the token. Then add it as the nonce attribute on the hidden input.
<input type="hidden" name="token" nonce={nonce} autocomplete="email-verification-token">
That's all the front-end code required. Everything else happens between the browser, the issuer, and your server.
Verifying a token
The process of verifying the token is quite involved, requiring parsing, DNS and network lookups, and verifying the token signatures.
If your server is written in JavaScript, I built an npm package to perform the verification for you. You can install it with:
npm install email-verification-api
And use it like so:
import { verifyEmailToken } from "email-verification-api";const result = await verifyEmailToken({ email, token, audience, nonce });
In this snippet, the audience is your site's origin, the email and the token come from the submitted form, and the nonce is retrieved from the session.
There is a full example Next.js application which shows you how it all works together.
You can try the example app for yourself.
Better email verification is better for everyone
I really like this API for two reasons.
For the user, there's no more heading off to their inbox to verify their email when they are just trying to get something done, and they don't have to change their behavior at all.
For the application, verifying emails helps you avoid hard bounces for email addresses that don't exist and ensures that the user really owns the email address.
If you want to follow the progress of this proposal, star the repository on GitHub and follow the updates on the Chrome for developers blog. If you want to implement it in your own application, check out the email-verification-api repository.